If you’re curious about the Curly Girl Method, but you’re not sure where to start (or you’re overwhelmed by everything you’ve read so far), welcome to the lazy girl’s guide to starting the Curly Girl Method.
Before we get into the nitty gritty of what the Curly Girl Method is and how to do it, I want to make two disclaimers. Firstly, I’m only about nine weeks into my own CG journey (I began on March 12), so I’m no expert. I’m still experimenting, and my hair isn’t (yet) a glorious mane of consistent ringlets. I have a long way to go, but I’ve learned a lot already, and as so many people have been asking me about it after I’ve posted pictures on my Instagram stories, I figured I’d share some details with you.
Secondly, I’m technically a Wavy Girl, not a Curly Girl. So some of my advice won’t necessarily work for you if you have tight, corkscrew curls, but as you’ll learn here, everyone’s hair is different, anyway. There really is no one-size-fits-all approach to this.
Just so you know: this post contains affiliate links.
What is the Curly Girl Method?
The Curly Girl Method (CGM) was created by hairstylist Lorraine Massey, who wrote the Curly Girl Handbook. The method is designed to bring out, and enhance, your hair’s natural curl pattern – which many people don’t even realise they have!
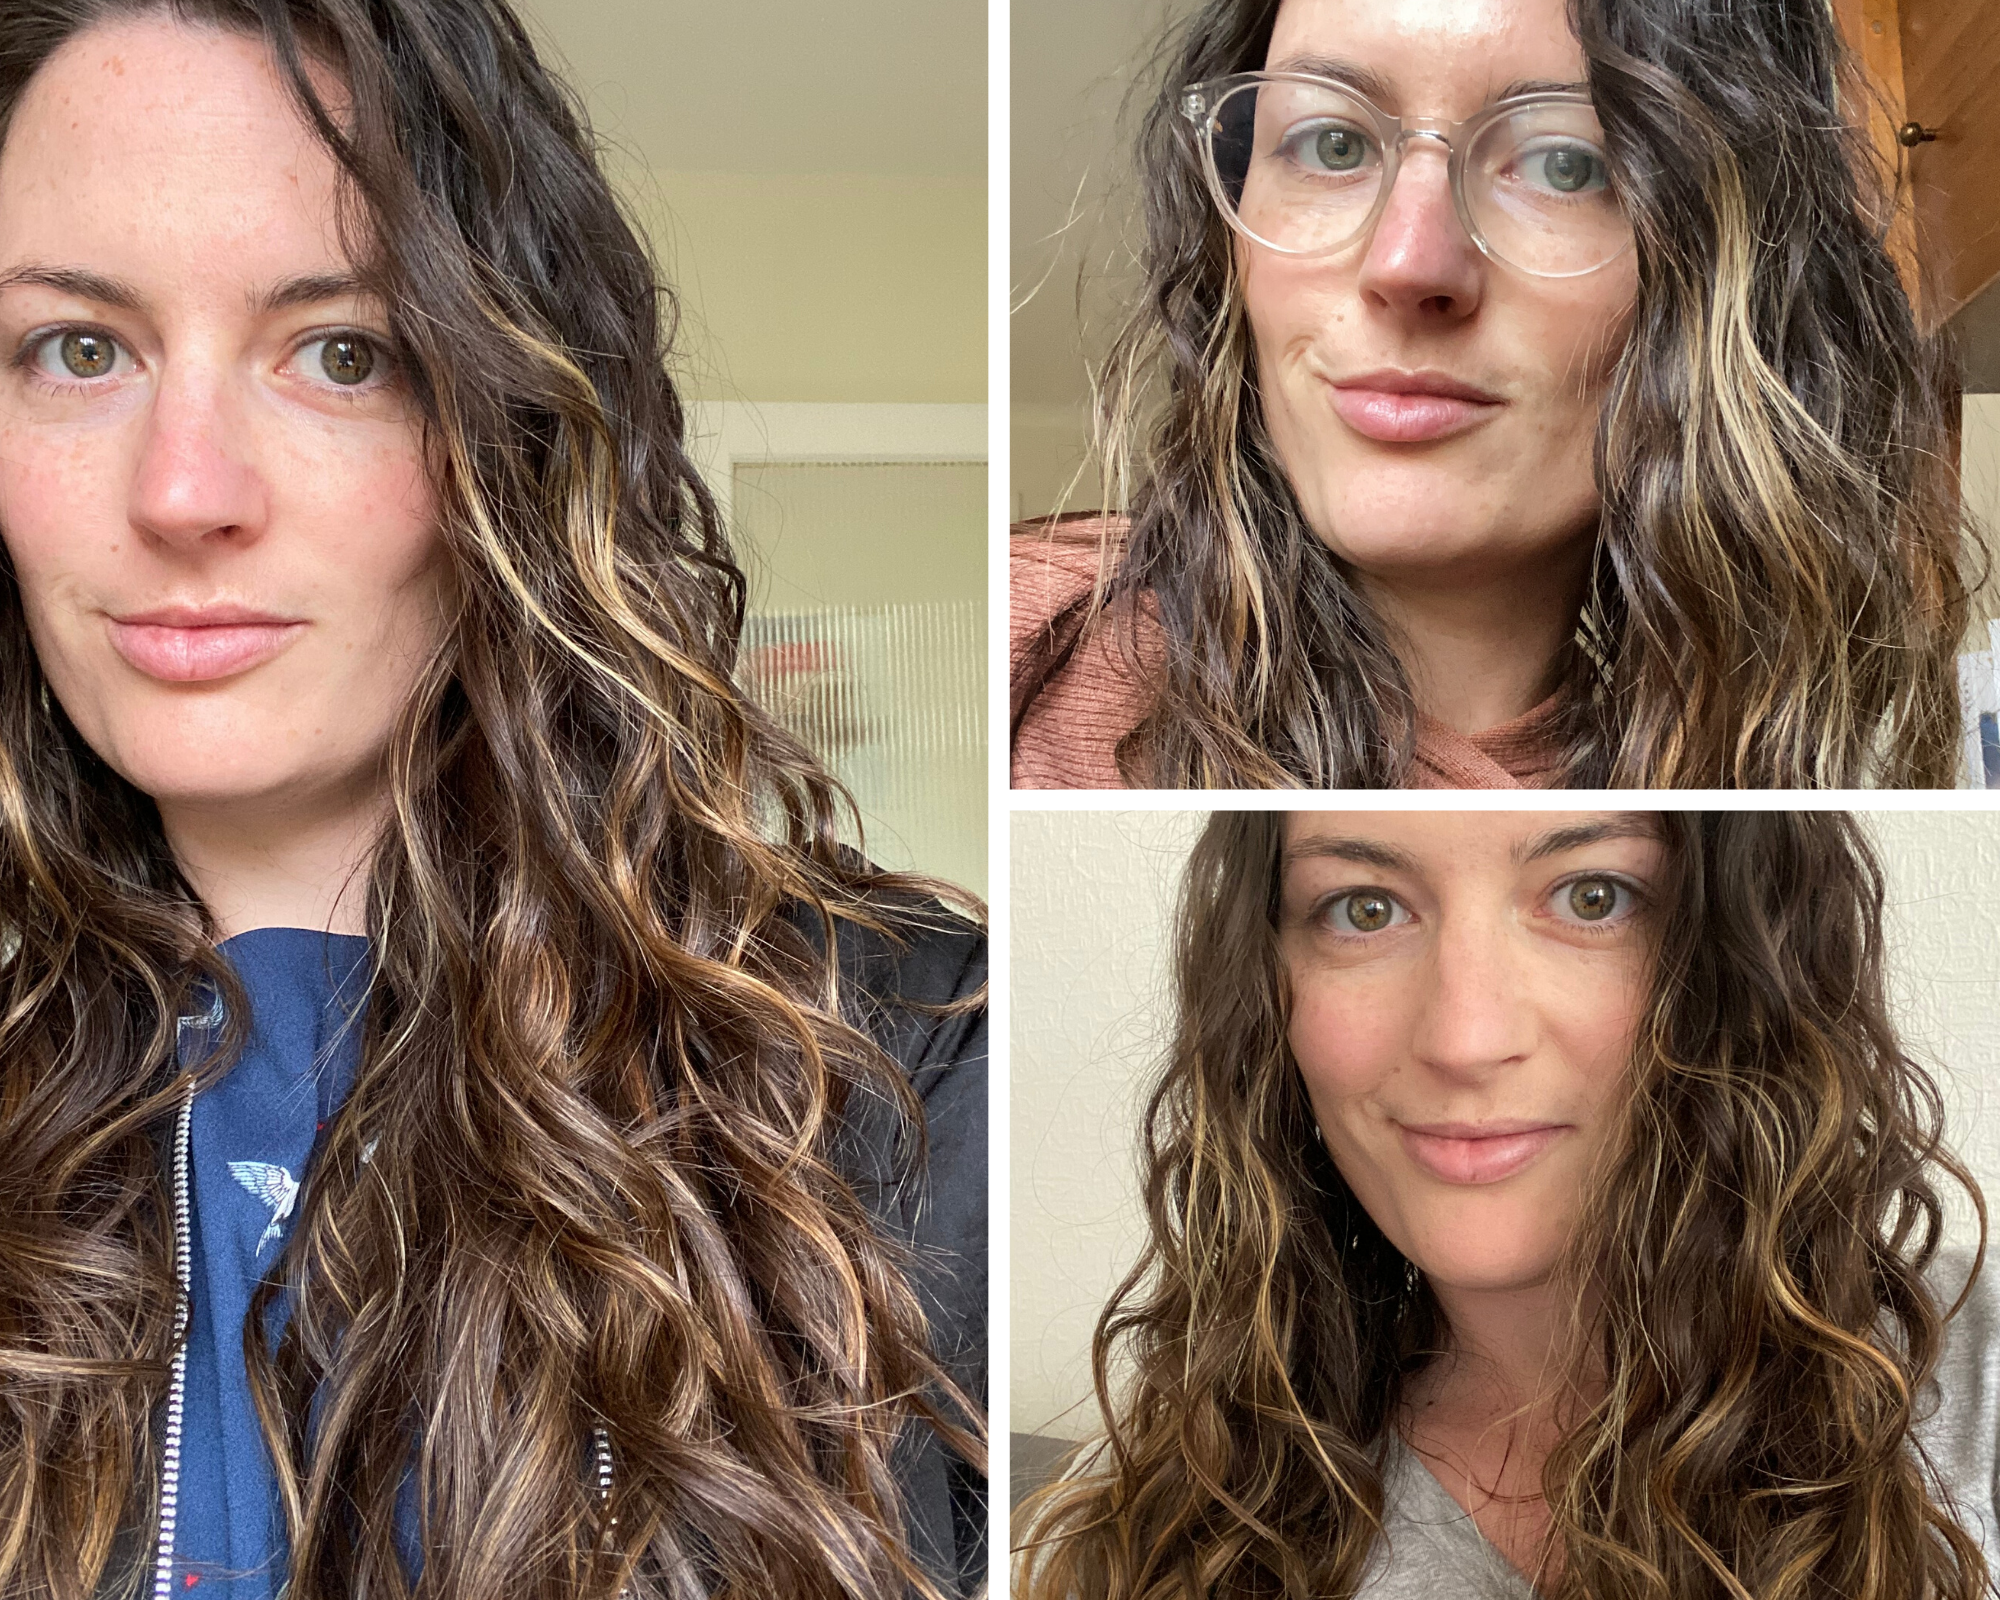
My best hair days (so far)
The fundamentals of the CGM are:
- Not washing your hair with shampoo (I’ll talk about what to use instead below)
- Not brushing your hair (don’t panic! It’s not as terrible as it sounds)
- Not using heat to style your hair (no straighteners, curlers etc – although diffusing is allowed)
- Not using any products that contain silicones, sulphates, waxes or drying alcohols.
Why I decided to start the Curly Girl Method
I’ve always had curly hair, although I’ve never seemed to be able to get a consistent curl. When I was younger, I’d get ringlets at the back of my head, but the front would be almost dead straight. Instead of trying to curl it, I did what everyone else was doing: I straightened it. With my trusty set of GHDs, I’ve been straightening my hair for well over a decade – probably closer to two, now, really. Every time I tried to curl my hair with a heat tool, the curls would drop out almost immediately, leading me to believe that my hair was, in fact, straight.
I’m not really sure what made me want to try Curly Girl, but I’d read about it here and there, and figured I’d give it a try.
And in just eight weeks I’ve been amazed at how curly my hair can actually get! It’s so exciting to see the transformation. But it’s also been a journey full of frustration and confusion. I’ve been fed up. I’ve been overwhelmed with the information out there, and with how complicated the method can seem.
So to simplify it for you, and to make things as easy as possible, I’ve created this lazy girl’s guide to the Curly Girl Method. Let’s start with the top things I’ve learned (so you don’t have to do the work of finding them out for yourself).

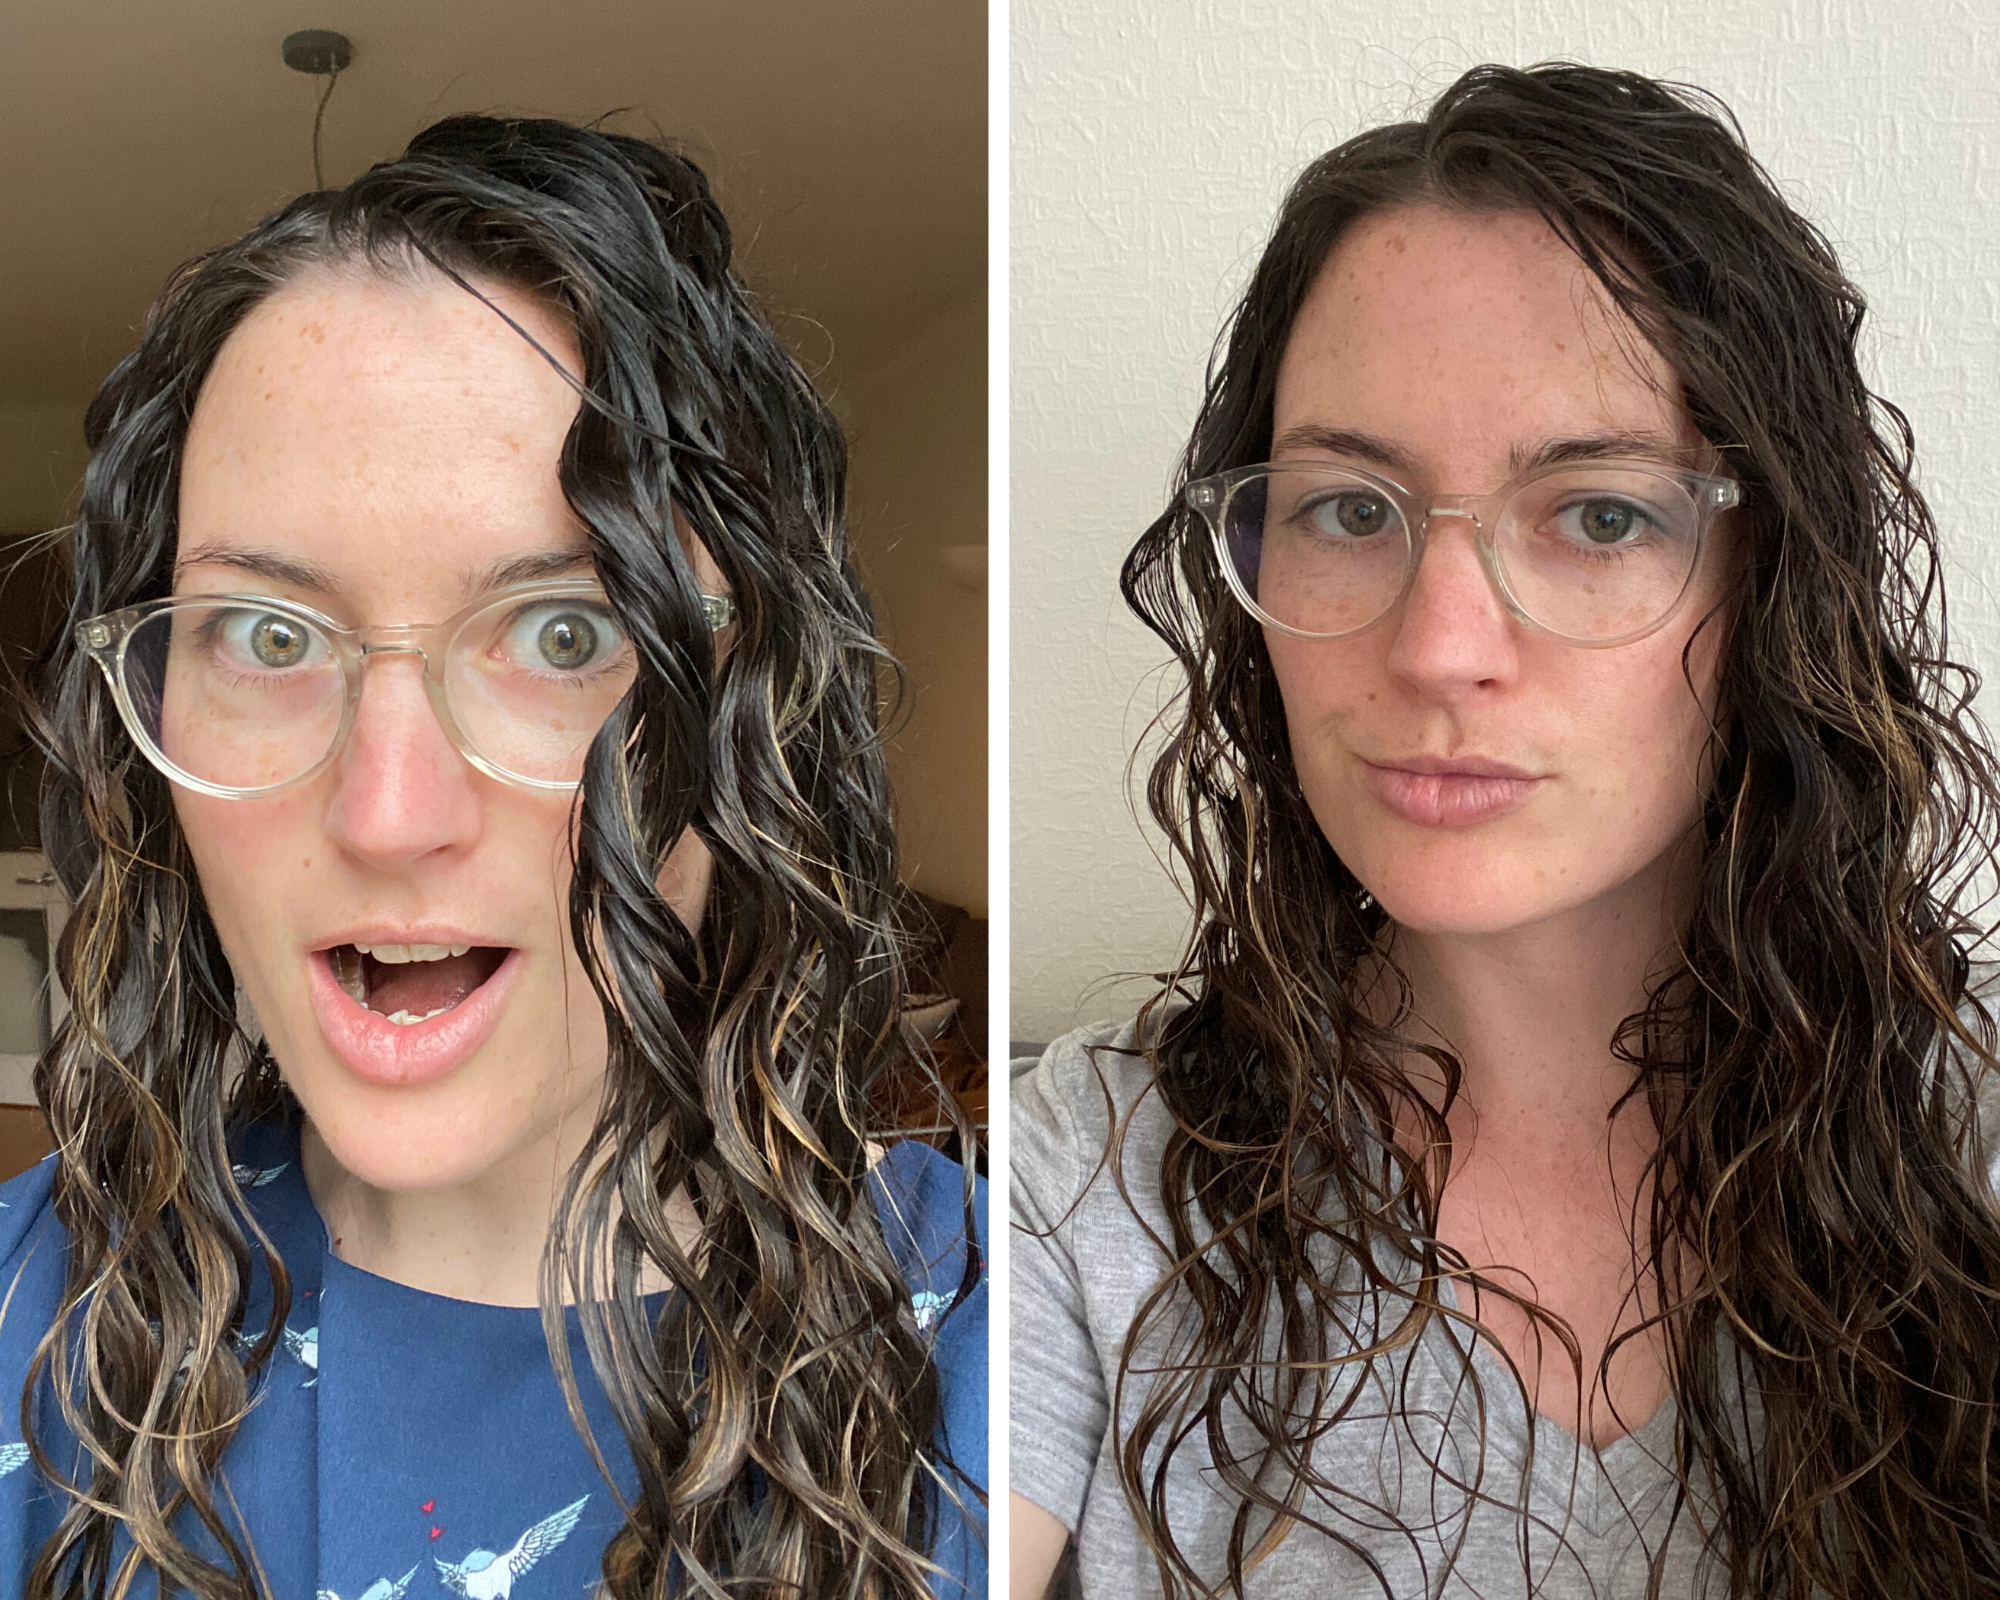
Days when the Curly Girl Method didn’t *really* work for me. I’m still learning.
Top tips for starting the Curly Girl Method
- Don’t buy ALL of the products to start with. I’ll go through the method below, but once you’ve started, all you need is a CG friendly conditioner, a gel or mousse, and an old t-shirt or microfibre towel.
- Before you start, make sure you do a ‘final wash’ – and repeat this every three weeks or so. More on that soon.
- Keep a diary! I just use the notes app on my phone to document every wash day, including the exact products I used and methods I tried, with photos so I can remember what worked and what didn’t.
- Remember that it’s a journey. For some people, it’s years before their hair is where they want it to be. You might take one step forward and two steps back. You’ll have days when you wonder why you bother. Then you’ll have another day of amazing curls and you’ll be inspired to keep going.
- Your neck will hurt. So much of this process involves having your head upside down. Your neck will not thank you. Your curls will.
- Join a group. I’m in a Facebook group called ‘Wavies UK – Following the Curly Girl Method’ – it’s a private group, so you have to request to join, but it’s been a brilliant resource for questions and information from others who are following the same method. There are loads of Facebook support groups, so take a look and join one that looks like a good fit for you and your hair.
- Use CurlsBot. If you’re unsure about any product being CG friendly or not, just copy and paste the ingredients into the CurlsBot analyser and it’ll tell you whether it’s approved or not.
- Ignore all the protein/moisture balance, or porous/non-porous chat to start with. It’s just confusing, and is something you can look at later down the line when you understand your hair and what works for it.
- Everyone is different. What works for you might not work for me. It’s all about experimenting, giving products and methods time and patience, and finding out what works.
- The Curly Girl Method uses the WORST terminology. I’m sorry, but low-poo, plopping and curl clumps…they don’t sound appealing AT ALL. OK, not a tip, just a rant.
- Wash day always yields decent curls or waves. After that, it’s a bit of a mess. Apparently if you stick at this for long enough, your curls will hold for longer, but I’m yet to find a way to make them work on day 2 or beyond.
- Don’t stress. I’ve learned that the Curly Girl Method is as much a styling method as it is anything else. If I just wash my hair and let it air dry, it’ll still be basically straight. The styling part takes time, and effort, and some days I can’t be bothered. I’ll just wash my hair with CG approved products and leave it to air dry. And that’s OK!
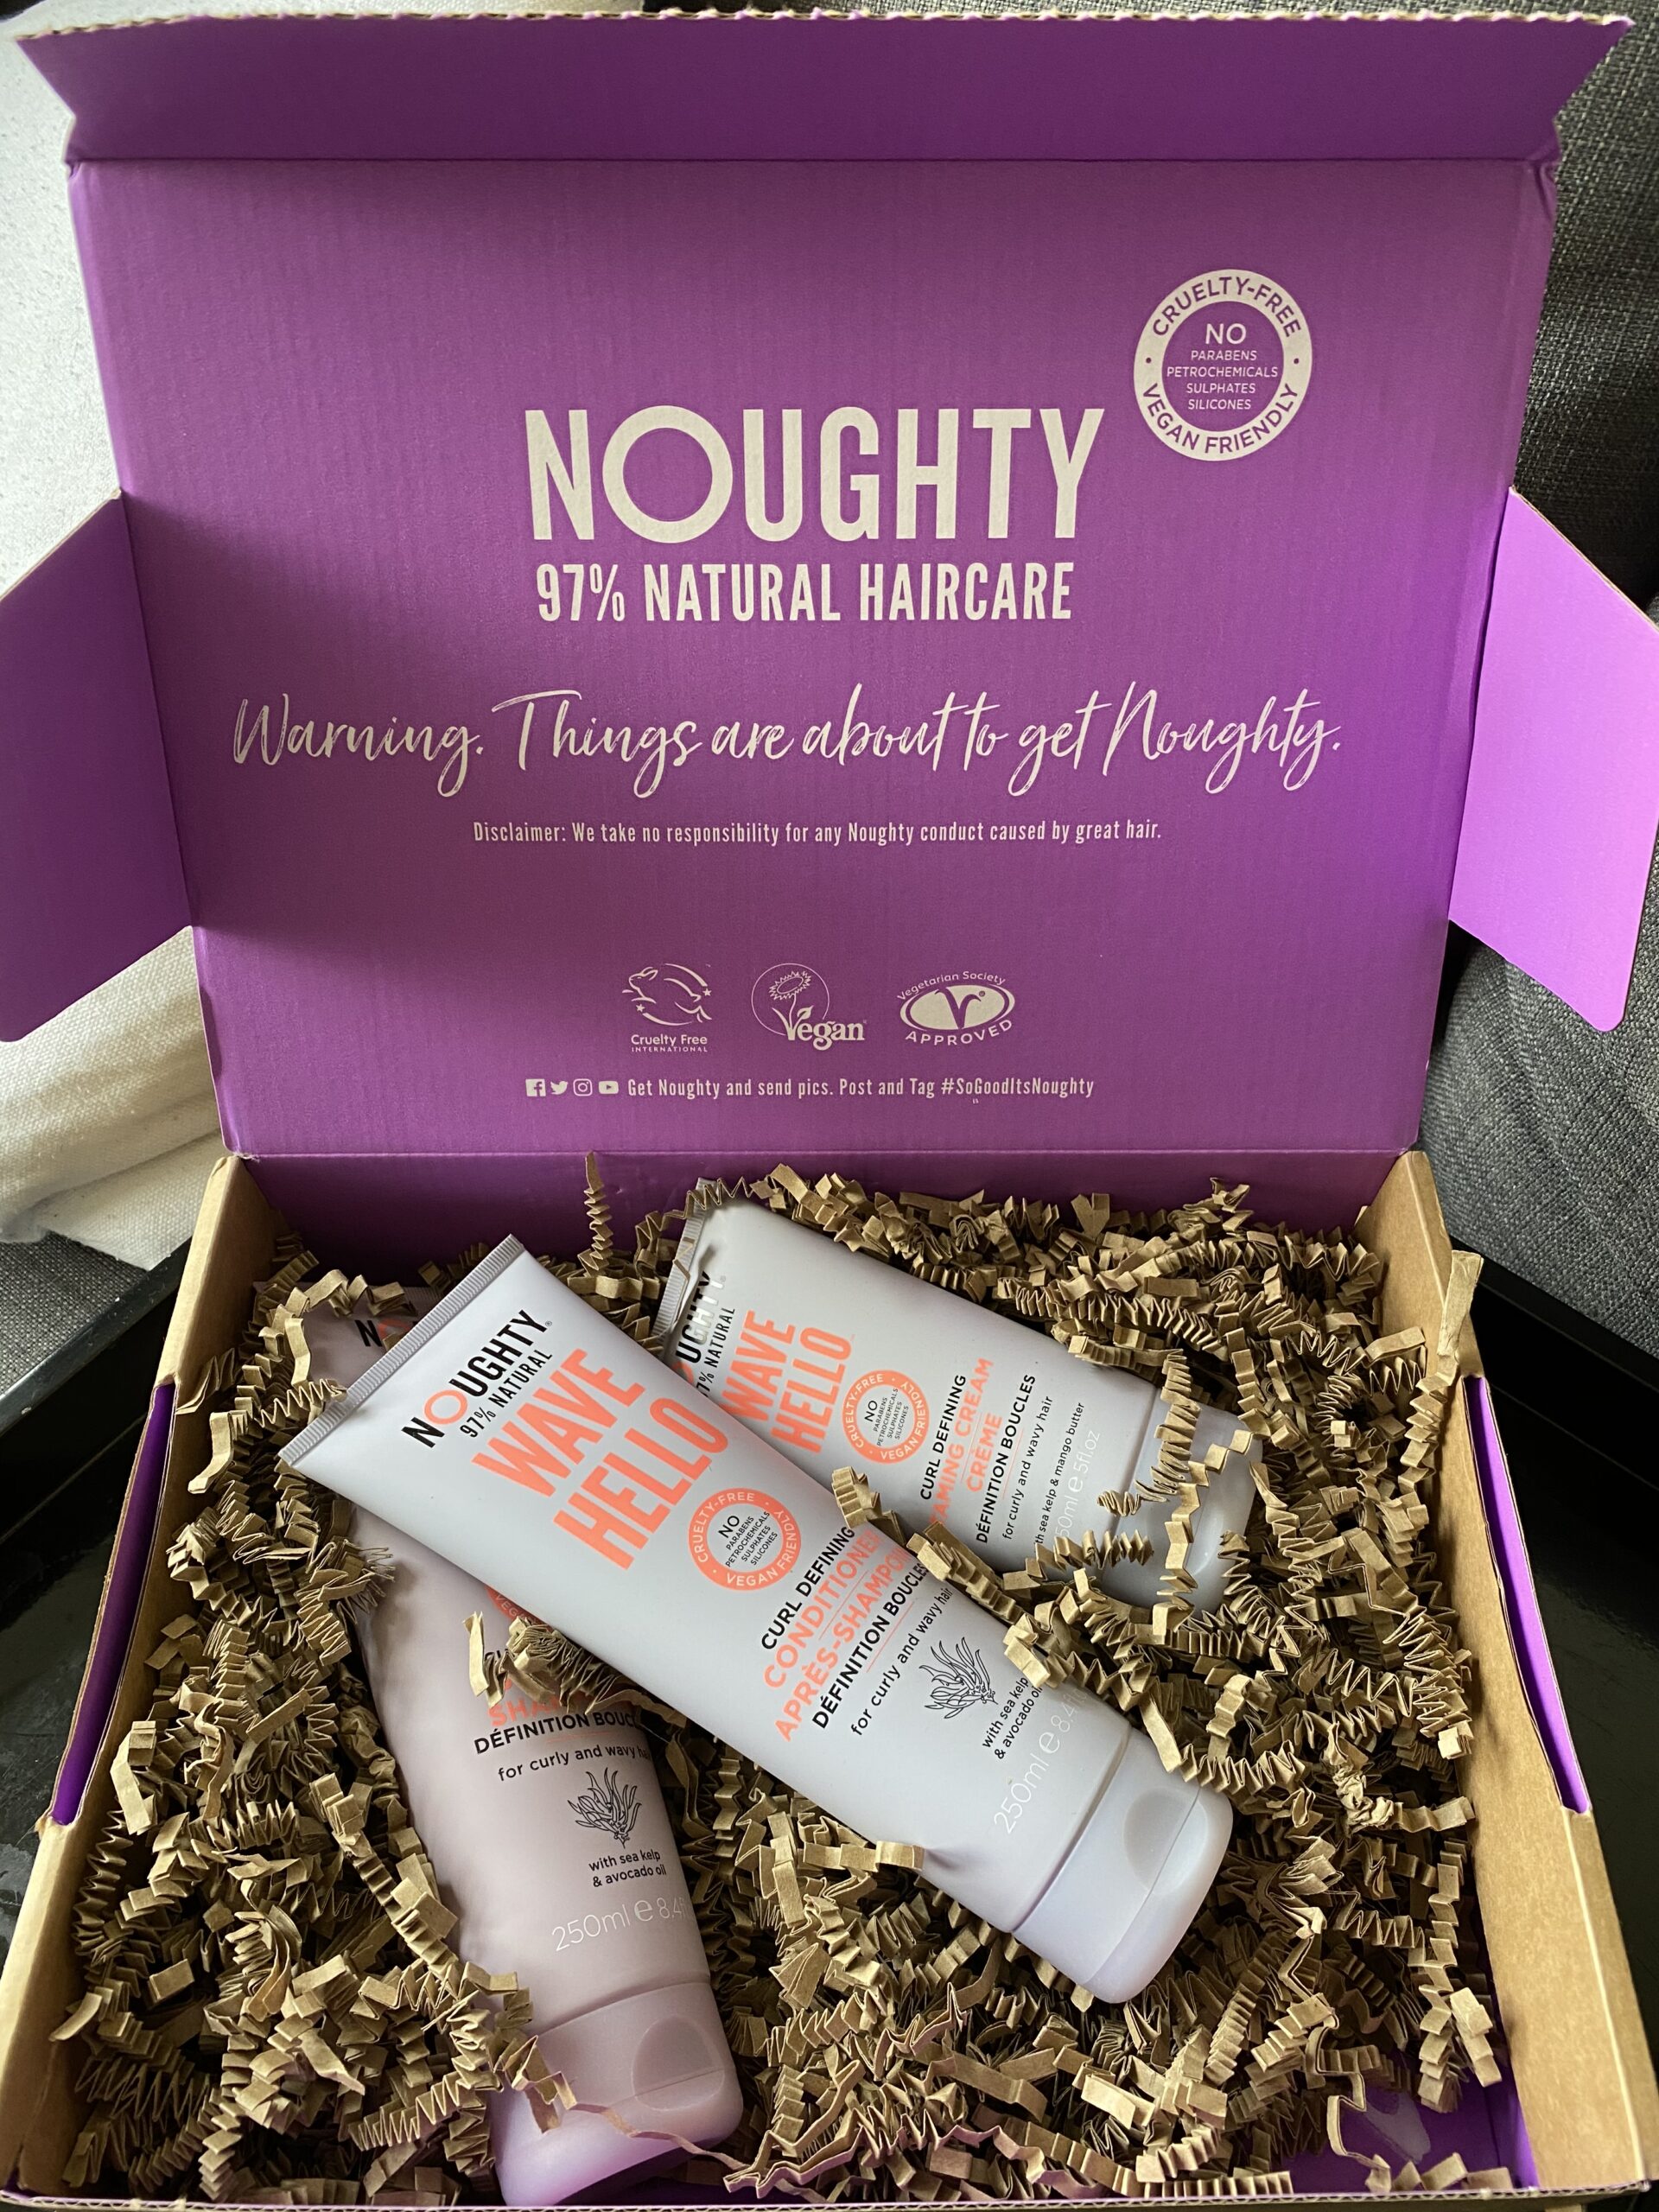
Some of the products I bought to begin with – turns out I didn’t need all of them!
The lazy girl’s guide to starting the Curly Girl Method
I’m going to make this as easy as possible for you. Are you ready?
Step 1: Final wash.
If you’ve not been using Curly Girl approved products, your hair will have a build-up of silicones and waxes, which stop your hair absorbing moisture. And curls need moisture! So the final wash is to clarify, which basically means getting rid of all that build-up, so you’re starting with a blank canvas, so to speak.
I did a DIY version using bentonite clay (I mixed the clay with some water until it was a yoghurt-like consistency, worked it through wet hair, wrapped my head in cling film for fifteen minutes or so, then rinsed out), but there are a number of DIY methods you could use. Check out this list.
Alternatively, you can buy a Curly Girl approved clarifying shampoo like this one by Noughty or this one by Cantu.
Condition using a Curly-Girl approved conditioner after this, as your hair might be quite dry.
Step 2: Co-wash.
Co-wash is short for conditioner-wash, which essentially means using conditioner instead of shampoo. It might sound weird, but just trust the process. Here’s how to do it:
When you’re in the shower and your hair is still dry, flip your head upside down, so your hair is hanging in front of your face. Wet your hair under the water. Then grab your Curly Girl friendly conditioner and rub it into your scalp like you would a shampoo. Use your fingertips (not your nails) and rub the conditioner into your whole scalp. Keeping your head upside-down, rinse the conditioner out.
Then, using the same conditioner, work it through the ends of your hair like you would a regular conditioner, detangling as you go (you can use a wide-tooth comb here, but be gentle).
Step 3: Scrunch.
Once you have all the knots out, but you still have the conditioner in, scrunch your hair in handfuls up into your scalp. Then let it fall from your hands, and keep scrunching. This method is called ‘Squish to condish’…I told you the terminology was bad. You should see some curls starting to form. Now gently rinse all or most (you’ll have to experiment to see what works for you) of the conditioner out, just letting the water run through, rather than messing your hair up with your hands. Then, when it’s rinsed out, continue scrunching.
Step 4: Style.
OK, here’s where you kind of have to work out what works for you, and what your method will be. I’ll share my favourite method, but others might swear by a total opposite way of doing things. This is the part you can play with.
When I get out the shower, I don’t add any styling products immediately. I use a T-shirt to scrunch my curls to dry them a little (micro-plopping). Then, so I can get dressed without wet hair dripping all over me, I plop. This means laying the T-shirt on a low, flat surface, then, with my head upside-down, gently lowering my curls onto it. I tie the sleeves of the T-shirt in a knot at the back of my head and tuck the rest under so the curls are all piled right at the top of my head.
Around 10 minutes later, I let my hair out (with my head upside down) and add a bunch of mousse to it. I started out by using the Tesco gel that costs 45p, but it never gave me a good cast. I switched to mousse and it’s changed the game. I add loads and scrunch it in, and keep scrunching (honestly scrunching is the best way to get that curl definition).
My hair with a cast – the first time it happened, I was *so* excited!
Step 5: Dry.
I then plop again for half an hour before leaving my hair to air dry for a few hours. If I’m in a hurry, though, I’ll use the diffuser on a warm setting instead.
Once my hair is bone dry, I ‘scrunch out the crunch’ which involves flipping my hair upside down and scrunching to get the mousse cast out, leaving soft waves.
Step 6: Repeat.
Every three to four weeks I’m doing another clarifying mask for my hair, because the build-up of gel and conditioner makes my hair feel heavy and limp. Between those clarifying washes, I repeat steps 2-5, occasionally tweaking as I go, and documenting everything. I’m trying not to buy any additional products, as I have a few already and don’t want to overcomplicate things, but once I run out I might try some different products to see if they give me better results.
My favourite Curly Girl products
As I say, I don’t have a lot, but here’s what I’ve used so far:
- Noughty Wave Hello Curl Defining Conditioner. I use this as my co-wash and conditioner and I love it.
- Bentonite clay. I use this as my clarifying masque.
- Wella Shockwaves Volume Mousse. This was a game-changer for me. It doesn’t weigh my hair down, and I get a great cast.
- Cantu Curl Activator Cream. I bought this because I thought I needed ALL of the products, and it had brilliant reviews. It’s quite heavy, so I occasionally use the tiniest amount, rubbed into my hands with water, just as I’m getting out the shower. I’m still trying to work out if my hair likes it or not, but the smell is DIVINE so I want to keep using it, at least occasionally!
So there you have it! Have you tried the Curly Girl Method? What are your top tips? Are you thinking of trying? What’s holding you back?